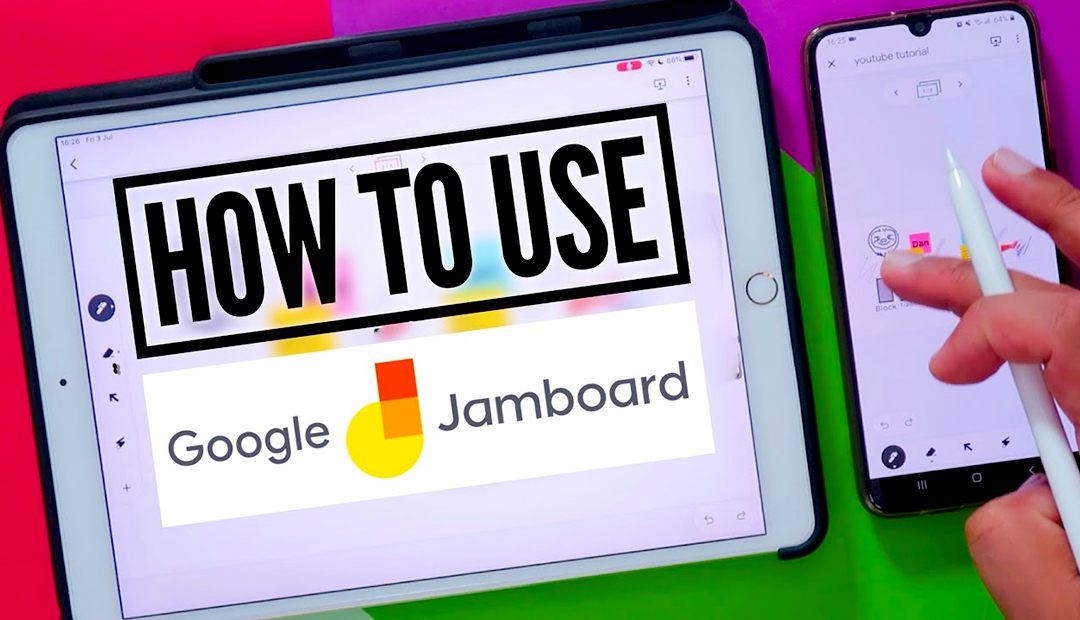
Learning to use any new device can be quite overwhelming, so we thought to put together a quick article to help you get started.
Powering On
To bring your Jamboard to life make sure you have your power cord plugged in before hitting the on button which is located on the back of the Jamboard. Once on the Jamboard will take you through a step by step process on how to activate your device using your Google account. If you don’t have an active Google account you will need to either set one up here or you can contact our support team via the live chat feature on our website. Once you have gone through the activation process the Jamboard is ready for it’s first Jam.
How To Create Your First Jam
To create your first jam, simply hit the plus icon in the bottom right hand corner of the screen. This should automatically select new jam. To confirm you have done this correctly you should be met with a blank document titled “Untitled Jam”
Here is a screenshot below.
If you have confirmed you are in the right place, the first thing we want to do is change the name of our document. Select “Untitled Jam” and type in a name that you will be used to store your document on your Google Drive.
Make sure the title of the document is clear and describes the contents of the Jam. We want to make it as easy as possible to find our Jam at a later date.
Once completed you are now ready to collaborate. Use the selector on the left hand side to pick the tool you’re wanting to collaborate with.
To get started we always recommend selecting the drawing tool and using your stylus to create lines, pictures or whatever comes to mind to make sure your Jamboard works.
Now that you have built up a little more confidence, we encourage you to select and test the other collaborative tools available.
Collaborate using your phone or tablet device
With the Google Jamboard app, you are able to create and edit your Jam documents easily.
Designed to have the same functionality as the Jamboard, the Jambaord app allows users to turn their mobile or tablet device into a mini jamboard. Using their fingers rather than the stylus or eraser, users can collaborate in real time.
To download the app simply visit the Google Play Store or App Store depending on the type of device you are using.
Getting Familiar With The Cloud
Once you have completed your Jam it is automatically saved to the cloud.
Yes that’s right, you won’t have to worry about losing work ever again. After every edit, the latest copy of your masterpiece is saved and uploaded to your cloud.
Cloud is just a fancy word for your personal online storage database.
Once it’s in the cloud it can be accessed by you or those who you choose to give access to.
If those who you choose to give access to edit the document, the latest version will be saved within your cloud in real time so that you can see the updated file.
For those who have not used Google Drive or Google G- Suite we recommend you do the following.
- Close the Jam you have opened on your Jamboard (double check it’s saved)
- Go onto either your computer, tablet or mobile device and visit https://jamboard.google.com
- Please login to your Google account if required
- There you should see the Jam you had started via the Jamboard. If you have the app you should be able to double click on the file and edit accordingly.
We hope this article has given you the confidence to go out and use your Jamboard. For more information surrounding Jamboard and it’s features visit our blog.

